
Adjust
Last updated:
Adjust gives you manual control over how the image looks, the way a photo editor does. Use it for small corrections, to match a series of pictures, or to finish a result after a Filter. Nothing is regenerated, so it costs no credits.
CostAdjust
No credits. Manual adjustments are free; only AI actions are billed.
How to adjust an image
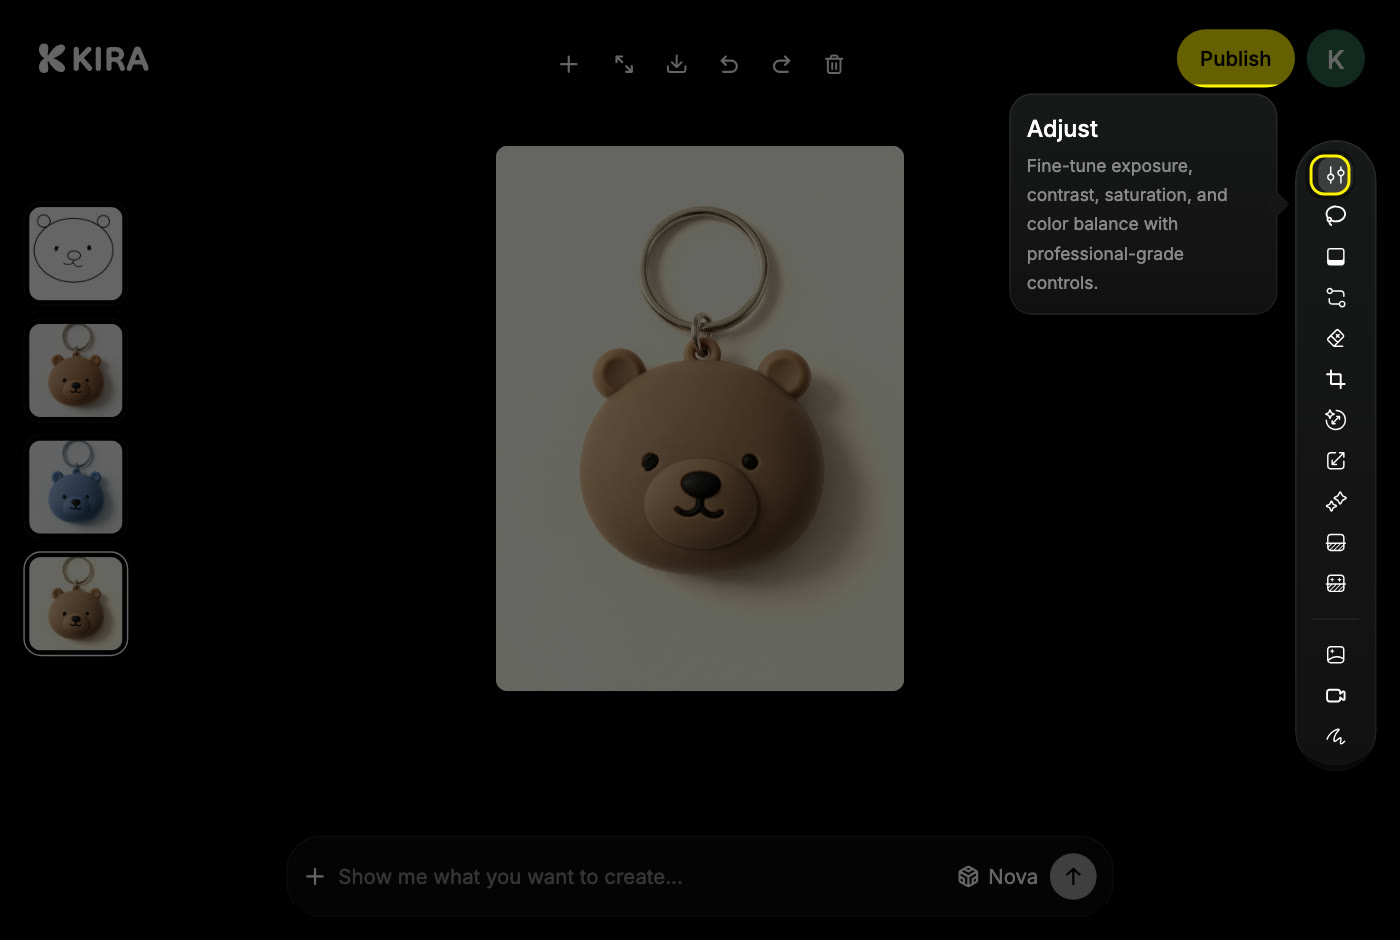
- Open the project and choose Adjust in the AI tools on the right.
- Open Light, Color or Details.
- Move one slider at a time and watch the canvas.
- Compare with the original and reset any control you overdid.
- Confirm when the whole image looks right.
What each group does
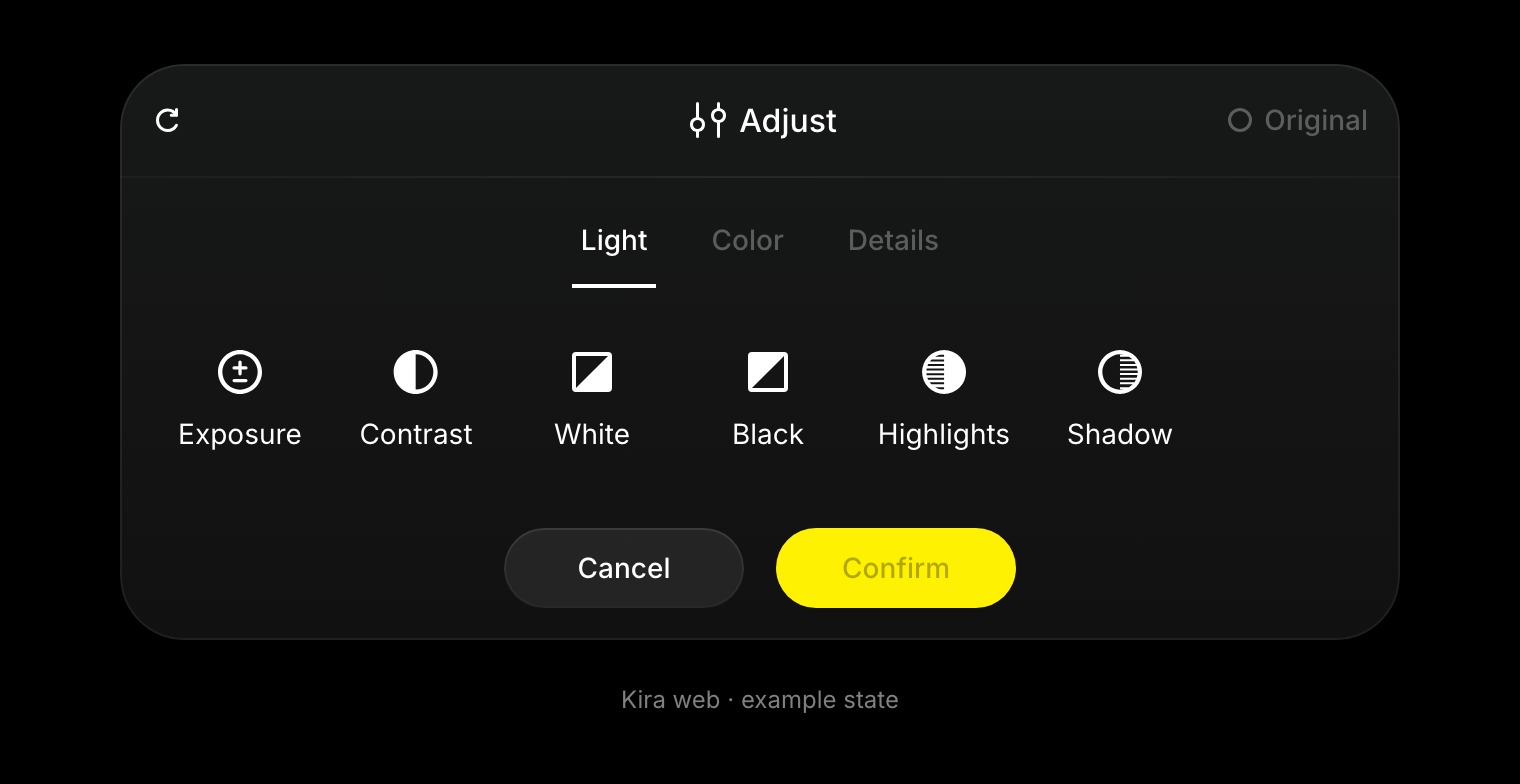
- Light: exposure, contrast, highlights, shadows, whites and blacks set the brightness and tonal balance. Tone curves give finer control, per channel where available.
- Color: white balance sets temperature and tint. Saturation and vibrance change intensity, and the colour mixer works on one colour range at a time. Split toning and calibration are there for matching a series.
- Details: sharpening, clarity, texture, noise reduction, grain, fade and vignette set the finish.
Tips
- Push highlights and shadows only as far as the detail survives.
- Too much sharpening or clarity makes hard edges; too much noise reduction smooths away texture.
- Adjust cannot swap an object or an outfit. For content changes, use Image Edit or Sketch.
Export downloads the adjusted version. AI actions elsewhere in the project are billed as described in Credits & Usage.