
Remove Background
Last updated:
Remove Background isolates the main subject from its surroundings. It is useful for product cutouts, portraits, and images you want to place in another layout.
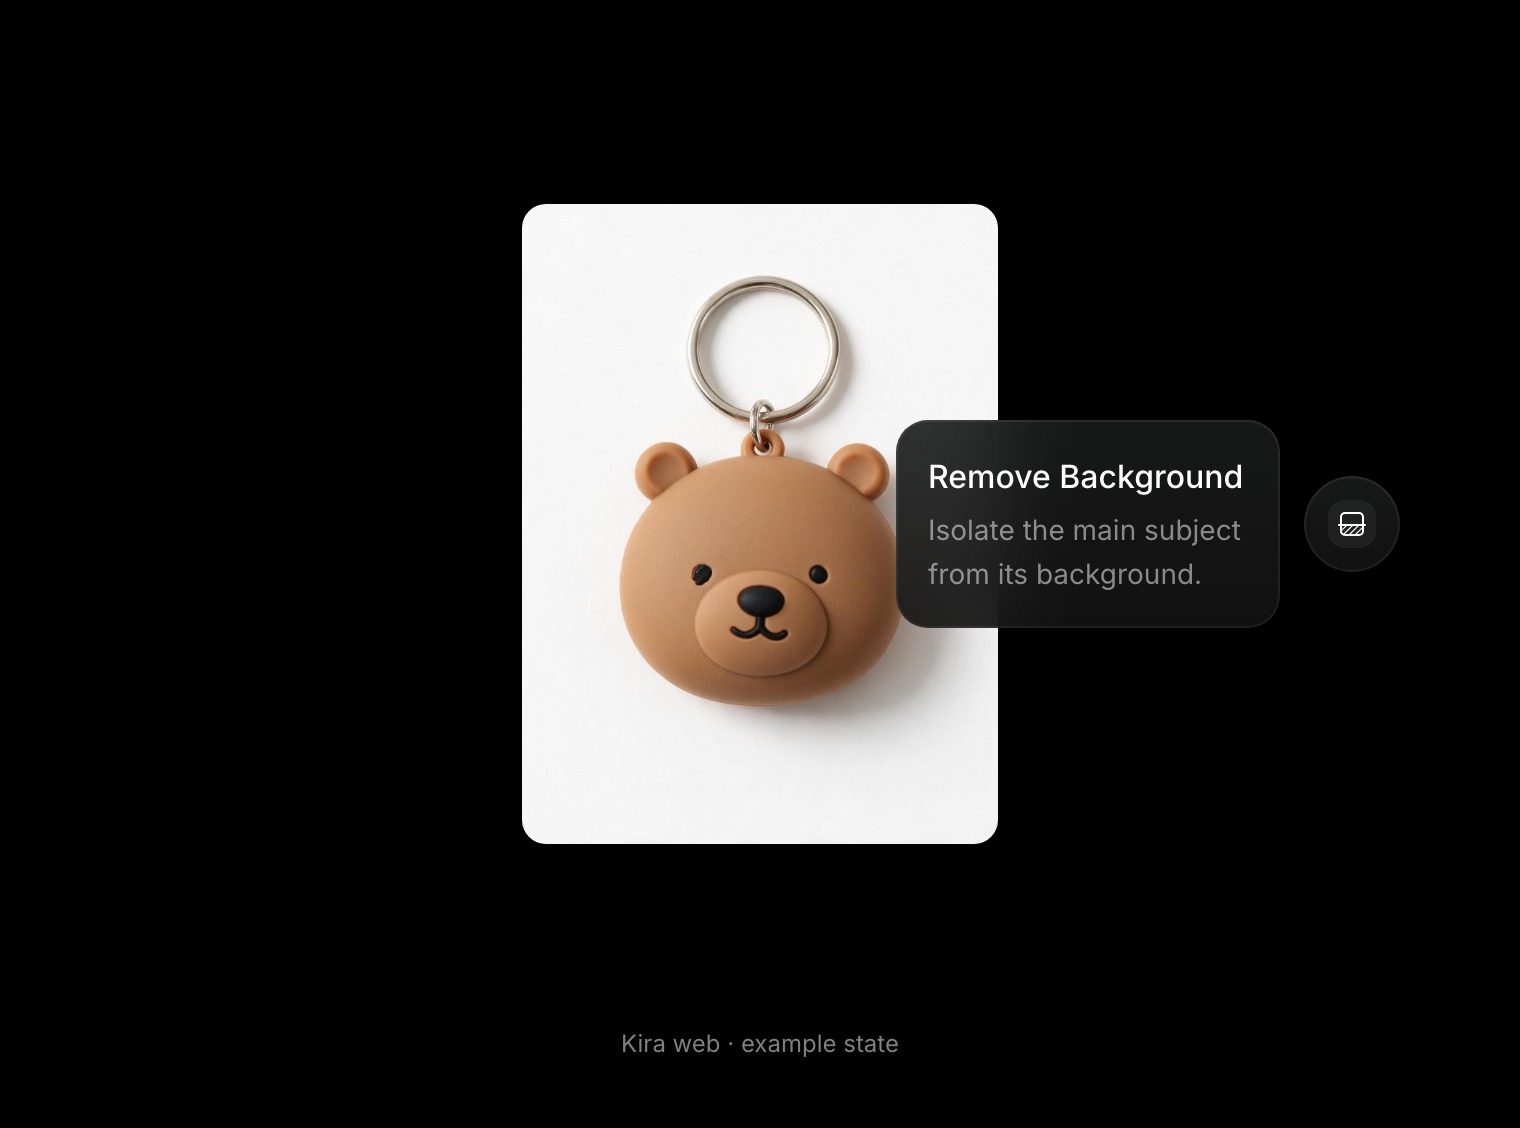
Make a cutout
- Open or upload the image in a project.
- Select Remove Background from the tools.
- Confirm the action if prompted and wait for the result.
- Review the subject and its edges, then export or continue editing.
No drawn selection is needed to start the background-removal action. Review hair, fine objects, and areas whose colour is similar to the background.
Keep transparency
Check the returned image and export format when you need a transparent asset. A checkerboard can indicate transparency in the editor; a format such as JPEG cannot retain it.
Other tools can flatten transparency or generate a new opaque result. In particular, review the output after Upscale rather than assuming it keeps the transparent cutout.
Improve the cutout or change the scene
Clear subjects and a well-defined background usually make isolation easier. Use Sketch or Eraser for a further refinement when needed.
If your goal is a new setting rather than a cutout, go to Replace Background.
Credits
Remove Background currently costs 5 credits per completed action. See Credits & Usage for how completed work and running reservations are handled.