
Filter
Last updated:
Filter changes the colour, tone, and mood of an image. It is a useful first stop for a warmer portrait, a film-like look, or a more consistent style across a series.
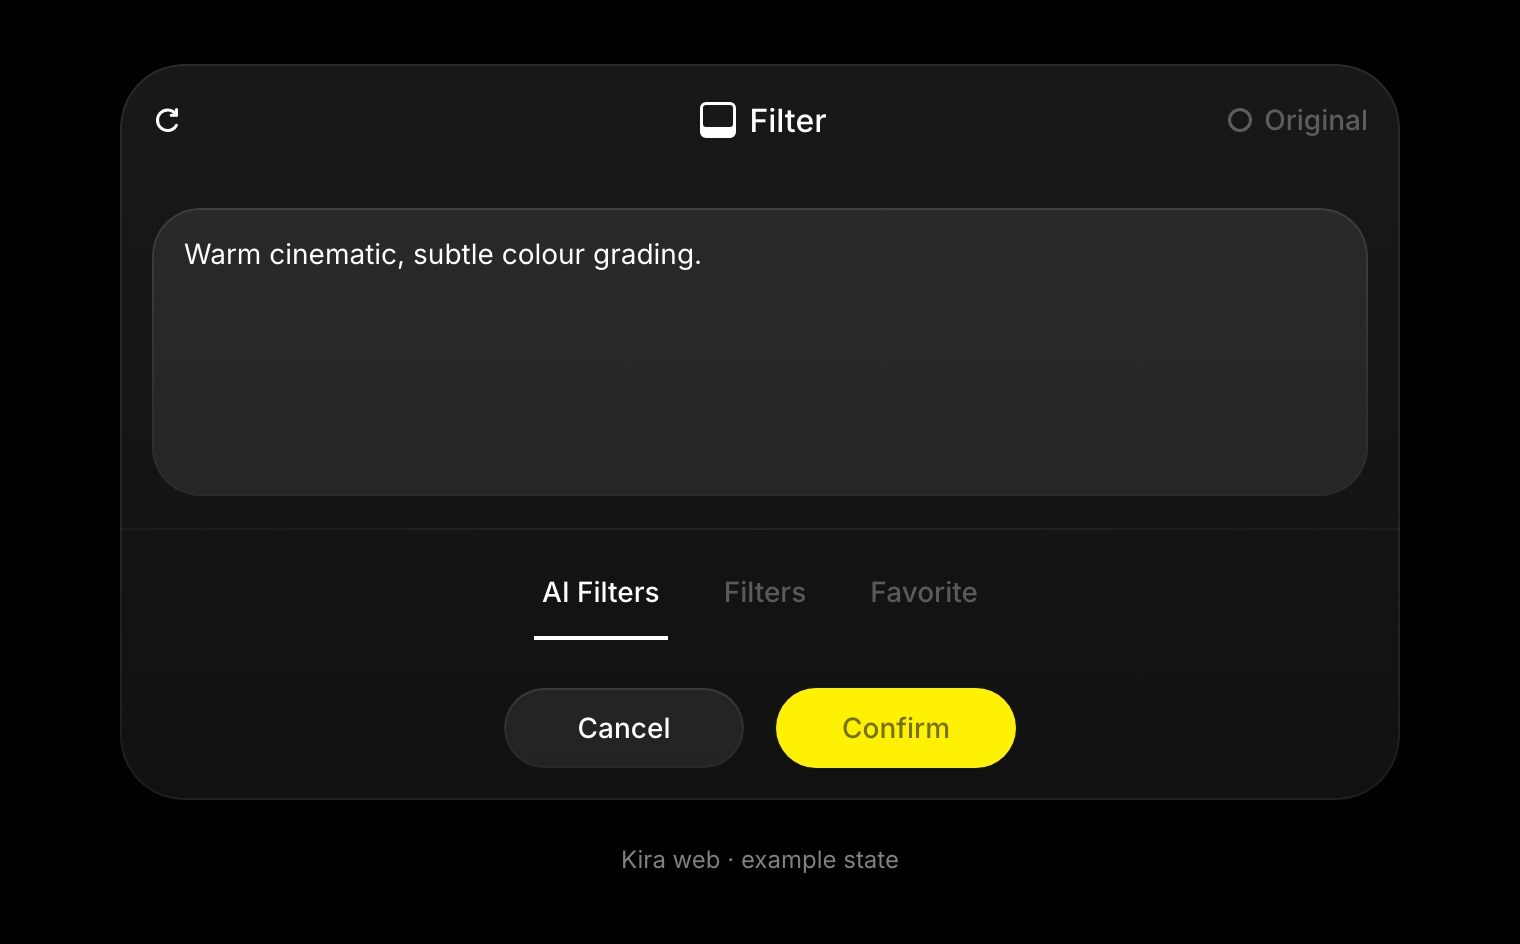
Open the filters
Select the image in a project, then choose Filter. The panel separates AI Filters, Filters, and Favorite.
Use a preset
- Open Filters.
- Choose a thumbnail to preview the look on your image.
- Adjust intensity where that control is available.
- Compare with Original, then confirm the result.
A filter is a colour-and-tone treatment, not the same thing as generating a new image in another art style.
Ask for an AI-guided look
Open AI Filters and describe the treatment you want, such as “warm cinematic”, “subtle vintage film”, or “clean studio portrait”. Use the generation control, compare the returned choices, and apply the one you prefer.
When the generated treatment is too strong, revise the description or reduce intensity rather than stacking many changes at once.
Save a favourite
Use the heart on a filter to save it, then find it under Favorite later. Favourites help you reuse a look; still review it on each new image because lighting and colour differ between photos.
Finish and understand usage
Use Adjust for finer control after choosing a look. Framing changes belong in Crop or Expand.
Previewing manual controls and requesting AI work are different operations. Check the product's credit information and Credits & Usage for billable actions rather than assuming every preset preview is a new generation.