
Crop
Last updated:
Crop changes the framing of an image. Use it to remove space at the edges, straighten a photo, or fit a layout. It does not generate a new scene outside the image; Expand is the tool for that.
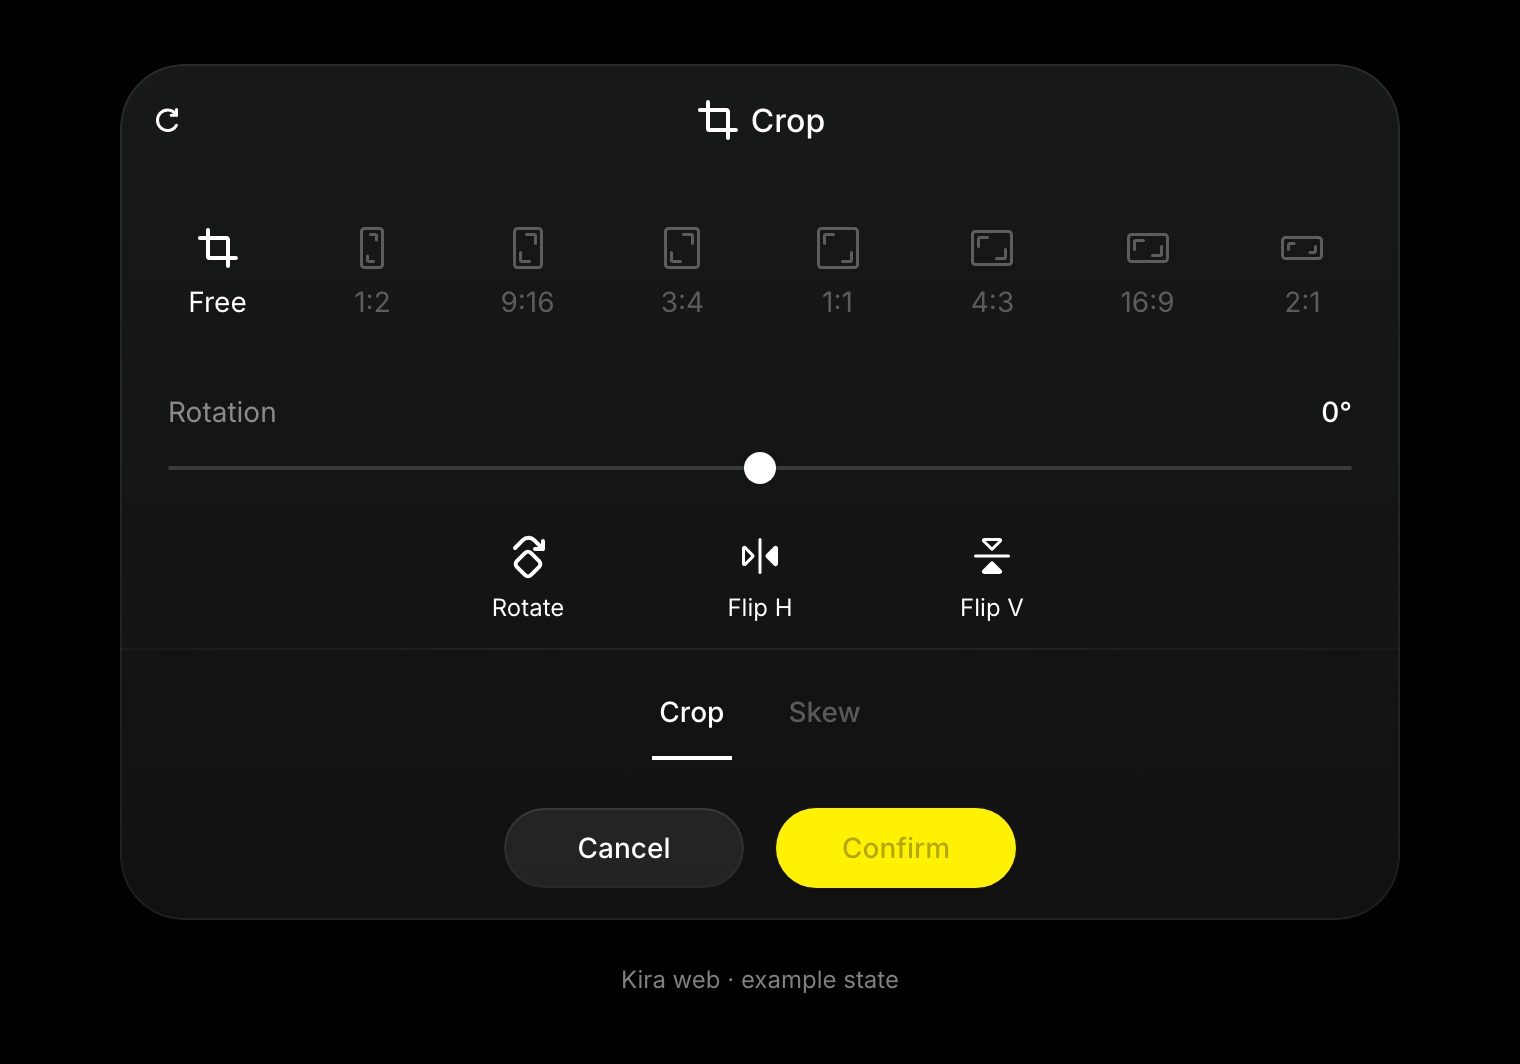
Adjust the frame
- Open the image in a project and choose Crop.
- Move or resize the crop frame to keep the area you want.
- Choose Free or an available fixed aspect ratio in the panel.
- Check the subject against the grid and review the edges.
- Choose Confirm to apply, or cancel to leave the current version unchanged.
Common ratios include square 1:1, standard 4:3 / 3:4, landscape 16:9, and vertical 9:16. Use the options actually shown for your image.
Geometry controls
Use the panel's rotation, flip, or perspective controls when you need to straighten or correct the image. Make small adjustments and check whether important lines and the subject still look natural.
You can also ask Kira for cropping guidance in a prompt. AI-assisted requests and direct manual controls are different workflows; do not assume every step has the same credit cost.
Tips and saving
- Leave enough space around the subject for the final format.
- Remember that cropping removes visible area; it does not add detail.
- Apply Upscale afterward if the cropped image needs a larger resolution.
- Finish colour or lighting with Adjust or Filter.
Use Export to download the result. For any AI work requested as part of your workflow, see Credits & Usage.